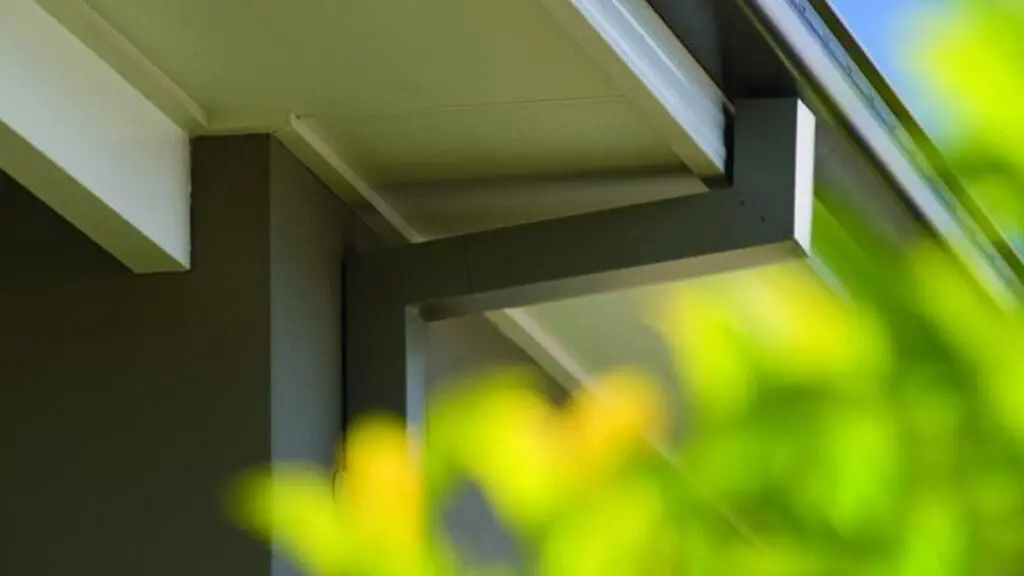
Your Comprehensive Step-by-Step Guide to COLORBOND Fascia Gutter Installation
Are you planning to install COLORBOND fascia gutters for your home or project? Look no further. In this comprehensive guide, we’ll take you through each step of the installation process to ensure a seamless and successful outcome. ClickSteel is your trusted partner for premium COLORBOND steel rainwater guttering products, providing the highest quality materials for your installation needs. Let’s dive into the details and get started on your COLORBOND fascia gutter installation journey.
Step 1: Preparation and Safety
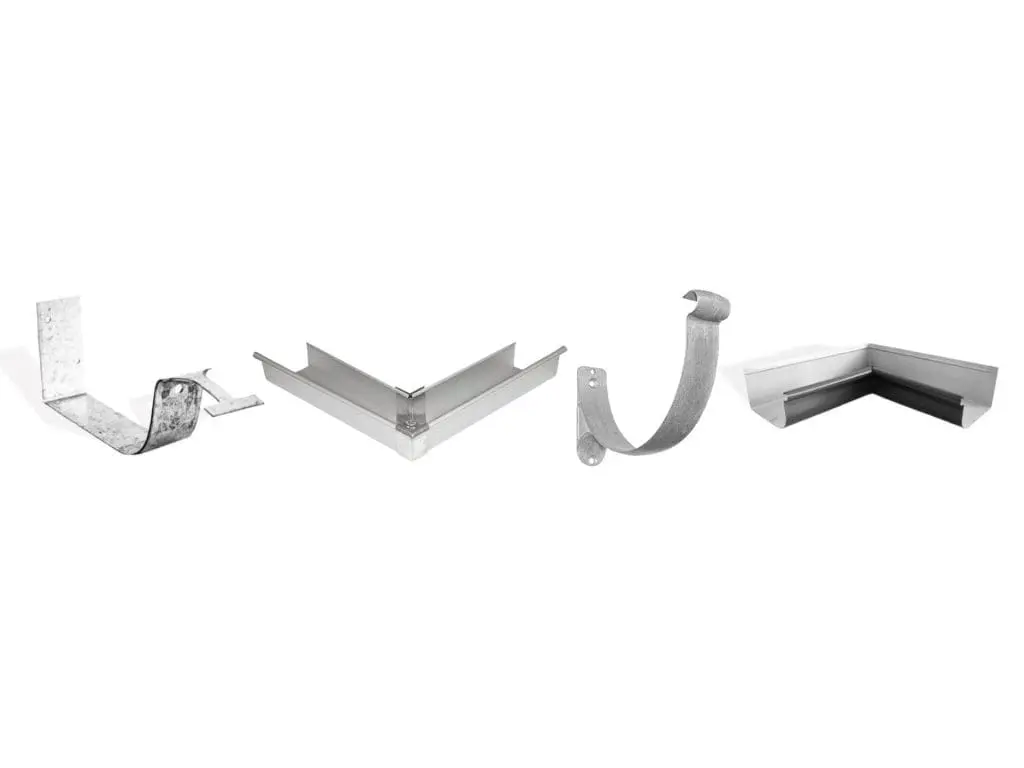
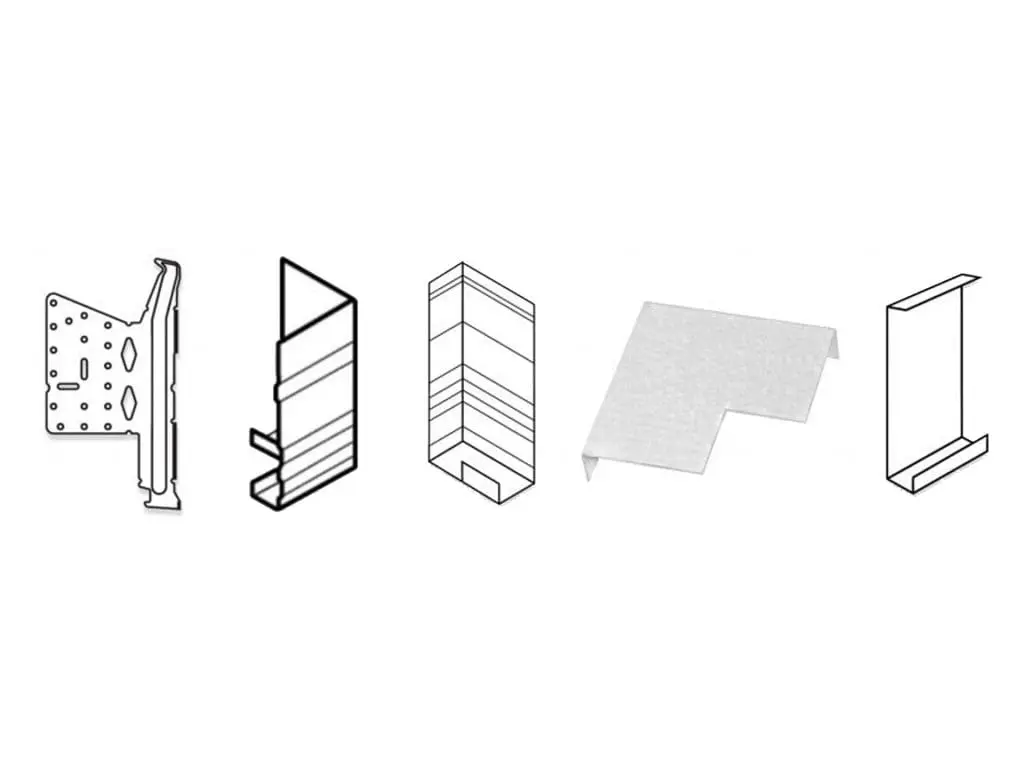
Before you begin the installation process, it’s essential to prioritise safety. Ensure that you have the necessary personal protective equipment (PPE), including gloves, safety glasses, and sturdy footwear. Additionally, carefully inspect the installation area to identify any potential hazards or obstacles that may need to be addressed before proceeding. Once you’ve established a safe working environment, gather all the tools and materials required for the installation, including COLORBOND fascia gutter components, brackets, screws, and sealant.
Step 2: Measurement and Planning
Next, carefully measure the length of the fascia where the gutter will be installed. Use a tape measure to determine the precise dimensions and mark the location of the gutter brackets accordingly. It’s essential to ensure that the gutter is installed with a slight slope towards the downpipe to facilitate proper drainage. Take into account factors such as roof pitch and rainfall intensity when planning the layout of your gutter system to optimise performance and efficiency.
Step 3: Installation of Brackets
Once you’ve marked the location of the gutter brackets, use a drill to secure them to the fascia board. Position the brackets at regular intervals along the length of the gutter, ensuring adequate support and stability. Be sure to use stainless steel screws or COLORBOND-compatible fasteners to prevent corrosion and ensure long-lasting durability. Double-check the alignment and spacing of the brackets to ensure uniformity and consistency throughout the installation process.
Step 4: Attachment of Fascia Gutter
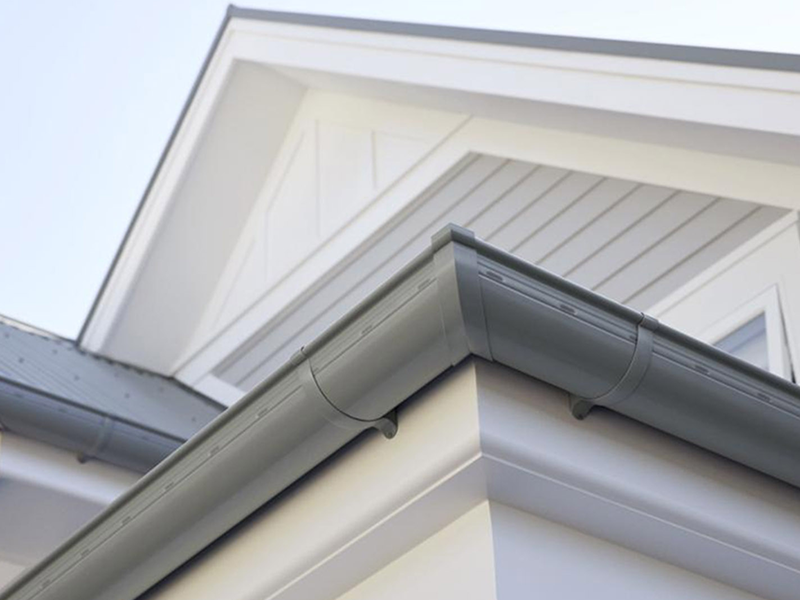
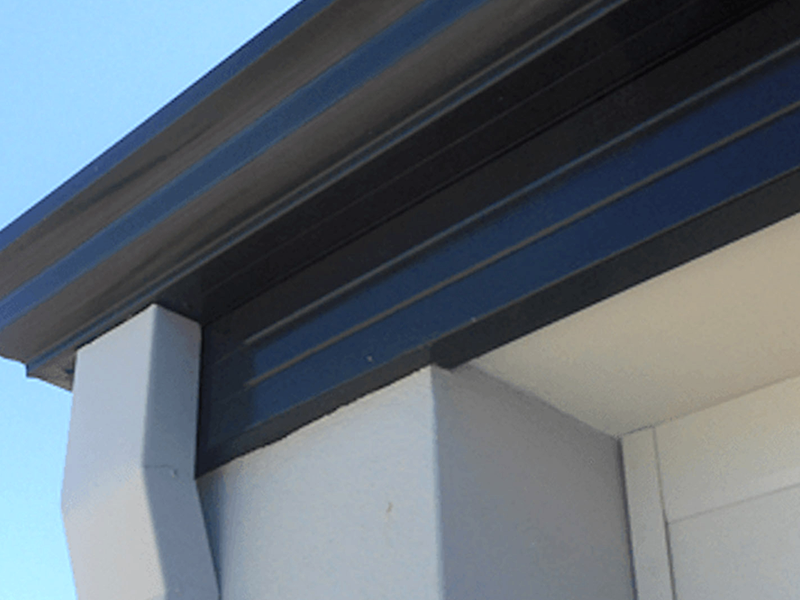
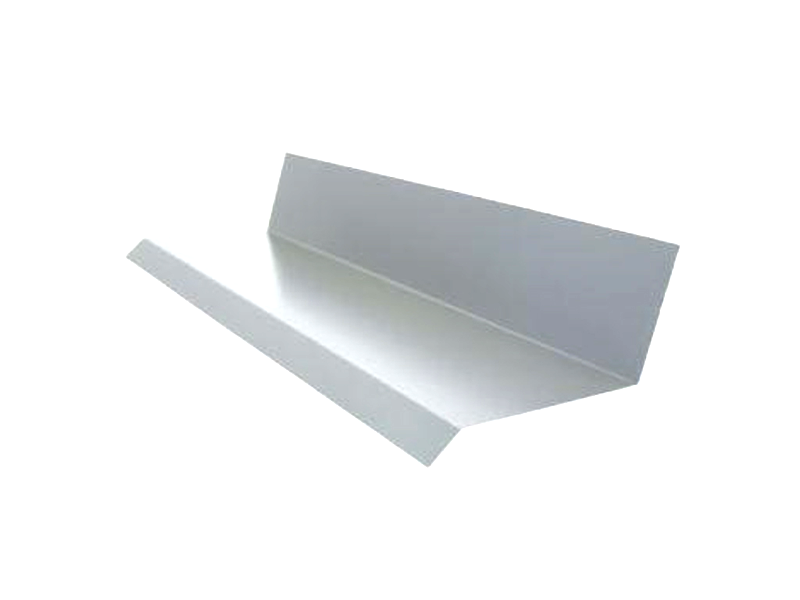
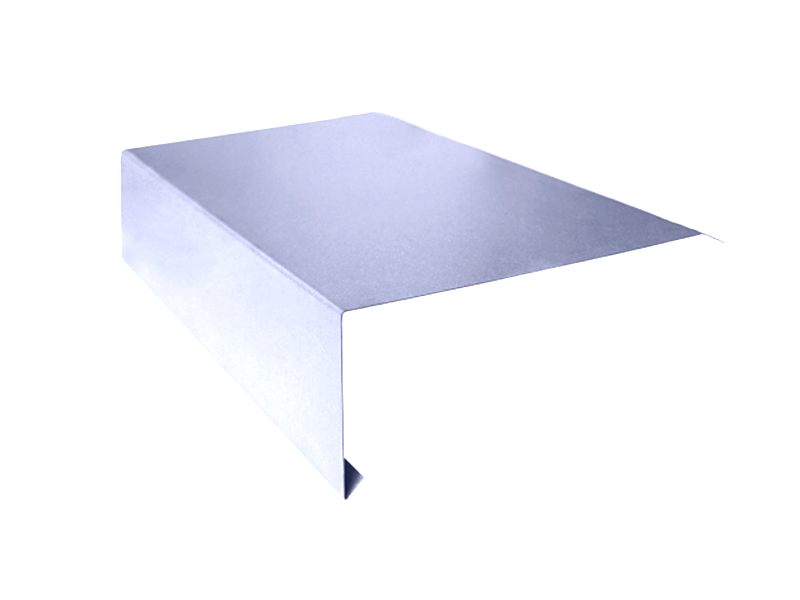
With the brackets securely in place, it’s time to install the COLORBOND fascia gutter. Begin by positioning one end of the gutter against the first bracket and securing it in place using screws or rivets. Continue along the length of the fascia, gradually attaching the gutter to each bracket until it is fully secured. Pay close attention to the alignment and levelness of the gutter to ensure proper drainage and prevent water pooling or overflow. Use a spirit level to double-check the slope of the gutter and make any necessary adjustments as required.
Step 5: Sealing and Finishing Touches
Once the gutter is installed, apply a bead of COLORBOND-compatible sealant along the seams and joints to ensure a watertight seal. This will help prevent leaks and water damage, ensuring the longevity and performance of your gutter system. Finally, inspect the installation for any gaps or inconsistencies and make any final adjustments or refinements as needed. With proper sealing and finishing touches, your COLORBOND fascia gutter installation is now complete, ready to withstand the elements and protect your home for years to come.
In conclusion, installing COLORBOND fascia gutters is a straightforward process that can be easily accomplished with the right tools, materials, and know-how. By following this step-by-step guide and utilising ClickSteel’s premium COLORBOND steel rainwater guttering products, you can achieve a professional-quality installation that enhances the functionality and aesthetics of your home. Whether you’re a DIY enthusiast or a professional installer, ClickSteel is your go-to source for all your COLORBOND fascia gutter installation needs.
Beyond the basic installation steps, it’s important to consider maintenance and longevity factors for your COLORBOND fascia gutter system. Regular maintenance, such as clearing debris and inspecting for any signs of damage or deterioration, can help prolong the life of your gutter system and ensure optimal performance. Additionally, choosing high-quality materials like COLORBOND steel for your guttering components can provide added durability and resistance to corrosion, even in harsh Australian climates. With proper care and attention, your COLORBOND fascia gutters can continue to protect your home and enhance its curb appeal for years to come.
Furthermore, it’s worth mentioning the benefits of choosing ClickSteel for your COLORBOND fascia gutter installation needs. As a trusted supplier of premium rainwater guttering products, ClickSteel offers a wide range of COLORBOND steel options to suit your specific requirements and preferences. With their commitment to quality, reliability, and customer satisfaction, you can trust ClickSteel to deliver superior products and expert guidance throughout the installation process. Whether you’re a homeowner embarking on a DIY project or a professional contractor seeking reliable materials, ClickSteel is your one-stop shop for all your COLORBOND fascia guttering needs.
- Colorbond Fencing: The Ultimate Blend of Style and Durability April 11, 2025
- A Spotlight on Monument: The Most Popular Colorbond Colour for Australian Homes March 28, 2025
- Transforming Your Outdoor Space with a Colorbond® Patio March 18, 2025
- How to Paint Colorbond: The Do’s & Dont’s March 7, 2025
- How to Easily Install an Insulated Panel Patio February 20, 2025

