


Master Colorbond Fencing Installation in Easy Steps
July 27, 2023
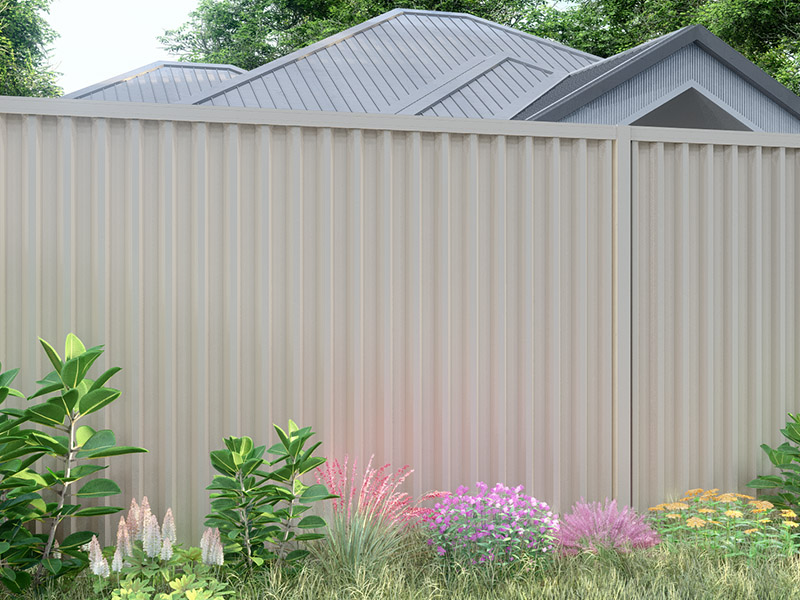
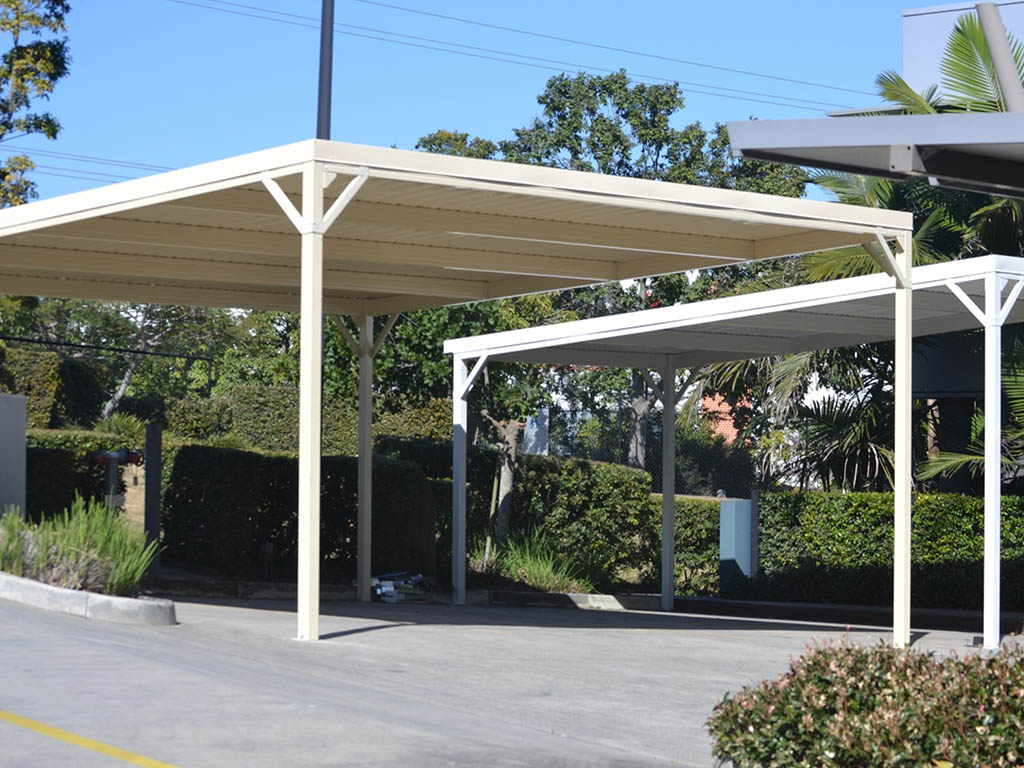
Master Colorbond Fencing is a popular choice for homeowners and property owners due to its durability, versatility, and aesthetic appeal. Whether you’re looking to enhance the security of your property or create a stylish boundary, installing Master Colorbond Fencing can be a rewarding project. In this comprehensive guide, we will walk you through the step-by-step process of installing Master Colorbond Fencing in easy steps. By following these guidelines, you’ll be able to achieve a successful and professional installation.
Master Colorbond Fencing Installation in Easy Steps
Master Colorbond Fencing Installation can be divided into several key steps, ensuring a systematic and efficient process. Let’s dive into each step in detail.
Step 1: Planning and Preparation
Before you begin the installation, it’s essential to plan and prepare adequately. This step sets the foundation for a successful project. Consider the following points during the planning phase:
Measure the area: Measure the length of the fence line to determine the amount of Colorbond Fencing material you’ll need.
Check local regulations: Ensure compliance with local regulations and obtain any necessary permits or approvals.
Gather tools and materials: Make a list of the tools and materials required for the installation process, including Colorbond fence panels, posts, rails, concrete, screws, and more.
Mark the fence line: Use stakes and string to mark the precise location of the fence line.
Step 2: Setting the Posts
The next crucial step is setting the posts. The posts provide the structural support for the Colorbond Fence. Follow these steps for setting the posts:
Digging the post holes: Use a post hole digger to dig holes at regular intervals along the fence line.
Inserting the posts: Place the posts in the holes and ensure they are plumb and level.
Securing the posts: Fill the holes with concrete mix to secure the posts in place.
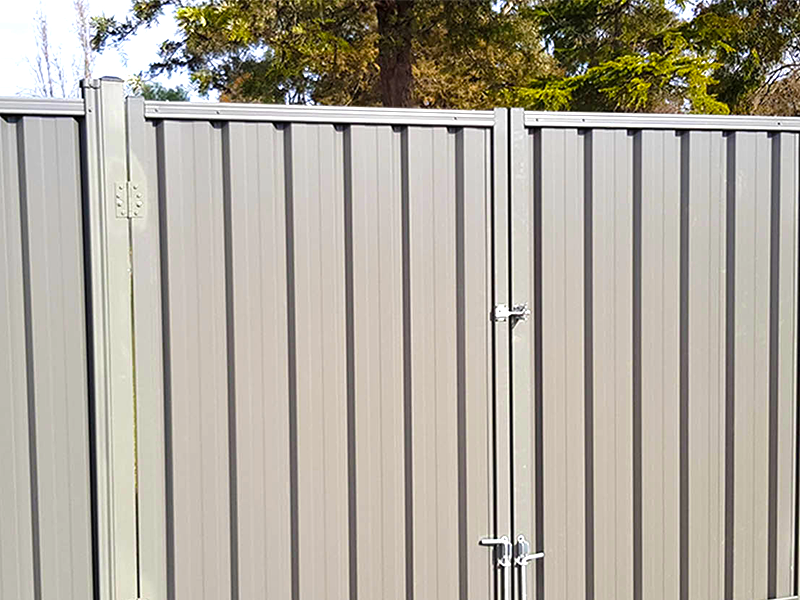
Step 3: Installing the Colorbond Fence Panels
Once the posts are set and secure, it’s time to install the Colorbond fence panels. Follow these steps for a proper installation:
Attach the rails: Fix the top and bottom rails to the posts using appropriate screws and brackets.
Slot in the panels: Insert the Colorbond fence panels into the rails, ensuring a snug fit.
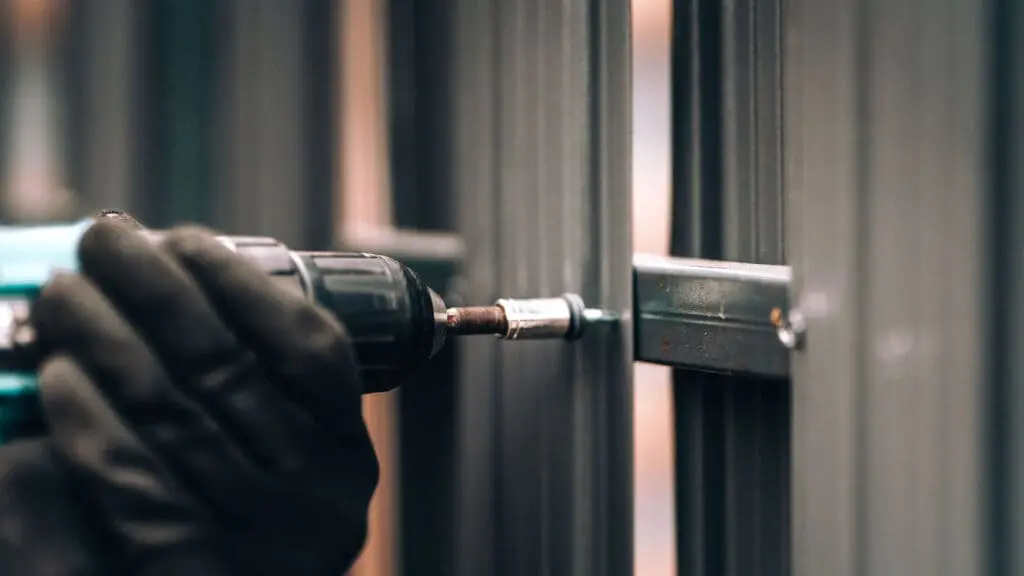
Secure the panels: Use screws to secure the panels to the rails for added stability.
Step 4: Adding Finishing Touches
To complete the installation and add a professional touch to your Colorbond Fence, consider these finishing touches:
Trim the panels: If necessary, trim the Colorbond fence panels to fit the desired length.
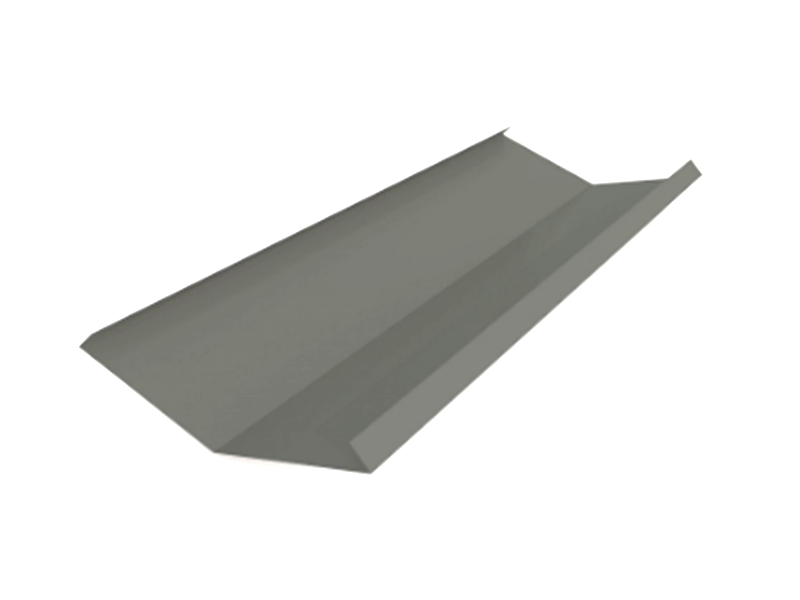
Install capping: Place Colorbond capping on top of the fence panels to protect them and enhance the aesthetics.
Paint or coat the fence: Apply a protective coating or paint to the Colorbond Fence to enhance durability and maintain its appearance.
FAQs
Here are some frequently asked questions about Master Colorbond Fencing installation:
What tools are required for Master Colorbond Fencing installation?
Some essential tools include a post hole digger, spirit level, drill, screwdriver, and tape measure.
How deep should the post holes be?
It’s recommended to dig post holes that are approximately one-third of the total post length.
Can I install Colorbond Fencing on a sloping ground?
Yes, you can install Colorbond Fencing on a sloping ground. However, additional considerations and techniques are required.
Is it necessary to use concrete to secure the posts?
Yes, using concrete to secure the posts provides stability and ensures the longevity of the Colorbond Fence.
Can I install Colorbond Fence panels myself, or should I hire a professional?
If you have basic DIY skills and the required tools, you can install Colorbond Fence panels yourself. However, for complex installations or larger projects, it’s advisable to seek professional assistance.
How can I maintain my Colorbond Fence?
Regular cleaning with water and mild detergent is usually sufficient to maintain the appearance of your Colorbond Fence. Avoid using abrasive cleaners or materials that can damage the surface.
Master Colorbond Fencing Installation doesn’t have to be a daunting task. By following the step-by-step guide outlined in this article, you’ll be well on your way to installing a beautiful and durable Colorbond Fence. Remember to plan and prepare adequately, take your time during each step, and don’t hesitate to seek professional help if needed. Enjoy the process, and revel in the satisfaction of completing your very own Colorbond Fence installation project.
If you’re ready to transform your property with a durable and stylish Master Colorbond Fence, contact us today! Our expert team is ready to assist you with your installation needs. Don’t wait, enhance the security and beauty of your property with ClickSteel’s Master Colorbond Fencing installation services now!
Recent Posts
- Colorbond Fencing: The Ultimate Blend of Style and Durability April 11, 2025
- A Spotlight on Monument: The Most Popular Colorbond Colour for Australian Homes March 28, 2025
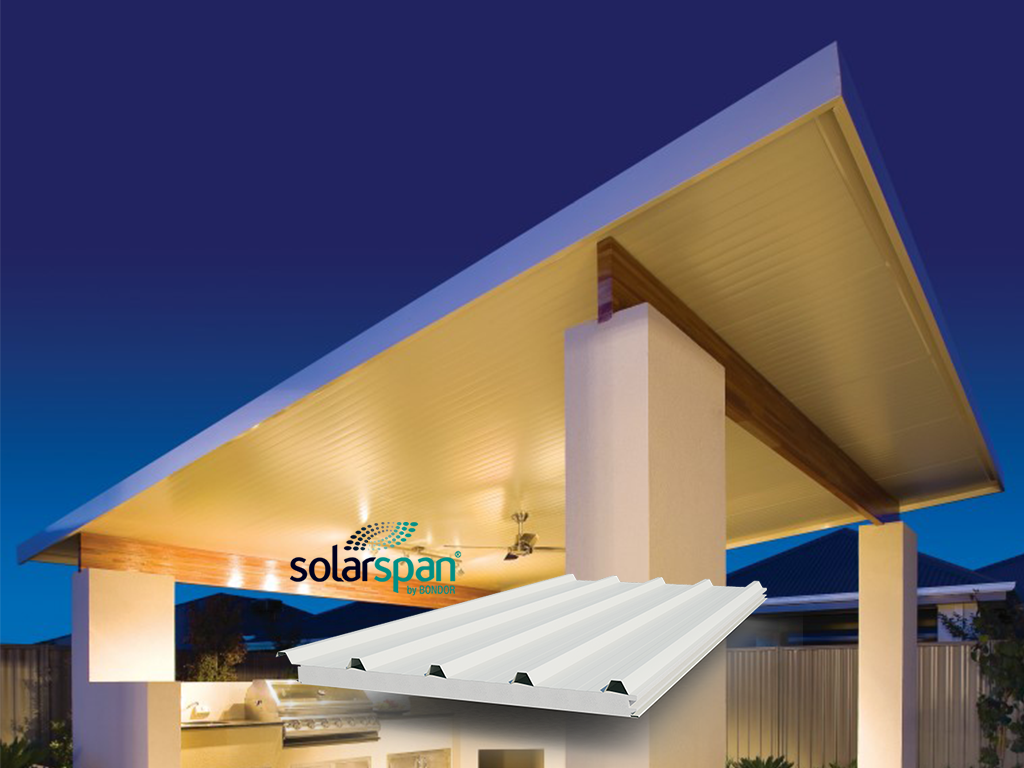
- Transforming Your Outdoor Space with a Colorbond® Patio March 18, 2025
- How to Paint Colorbond: The Do’s & Dont’s March 7, 2025
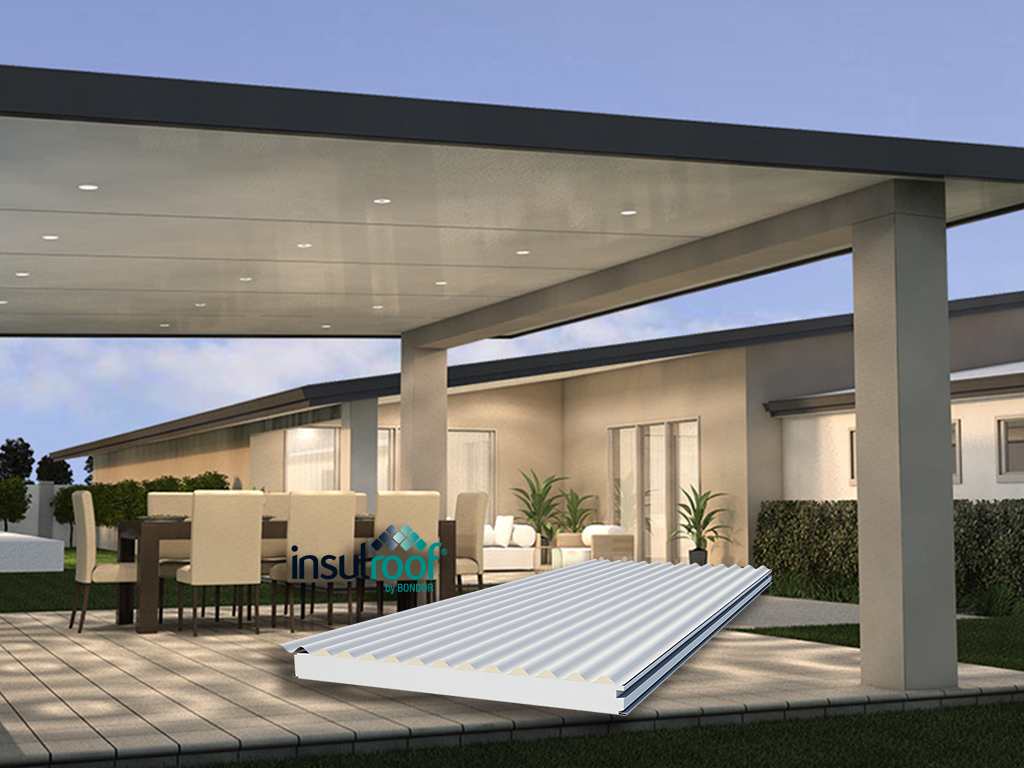
- How to Easily Install an Insulated Panel Patio February 20, 2025