


How to Easily Install an Insulated Panel Patio
February 20, 2025
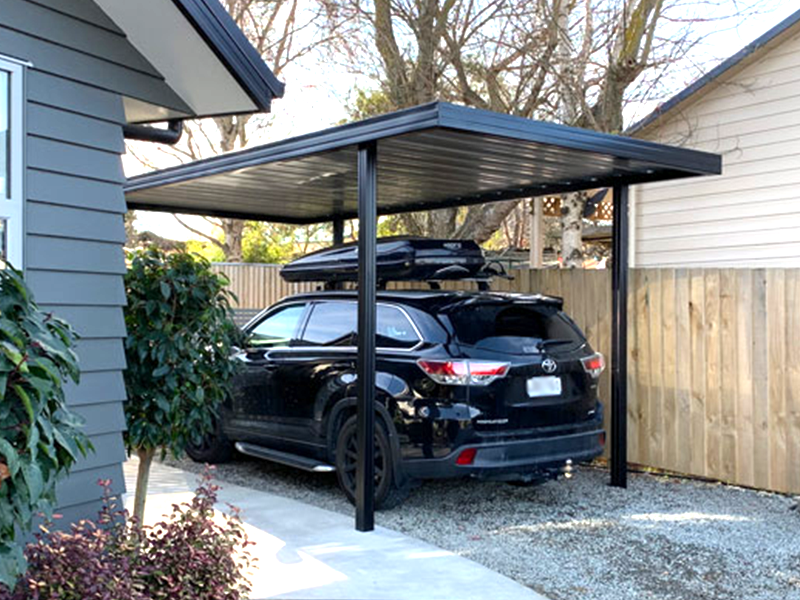
Thinking of upgrading your outdoor living space? Installing an insulated panel patio is a fantastic way to enhance comfort, style, and energy efficiency in your backyard. Not only does it provide protection from the elements, but it also helps regulate temperature, keeping you cool in summer and warm in winter. Best of all, with a little planning and effort, installing an insulated patio can be a straightforward DIY project.
Here’s a step-by-step guide to help you install an insulated panel patio quickly and efficiently.
Step 1: Gather Your Materials and Tools
Before getting started, make sure you have all the necessary materials and tools to ensure a smooth installation process.
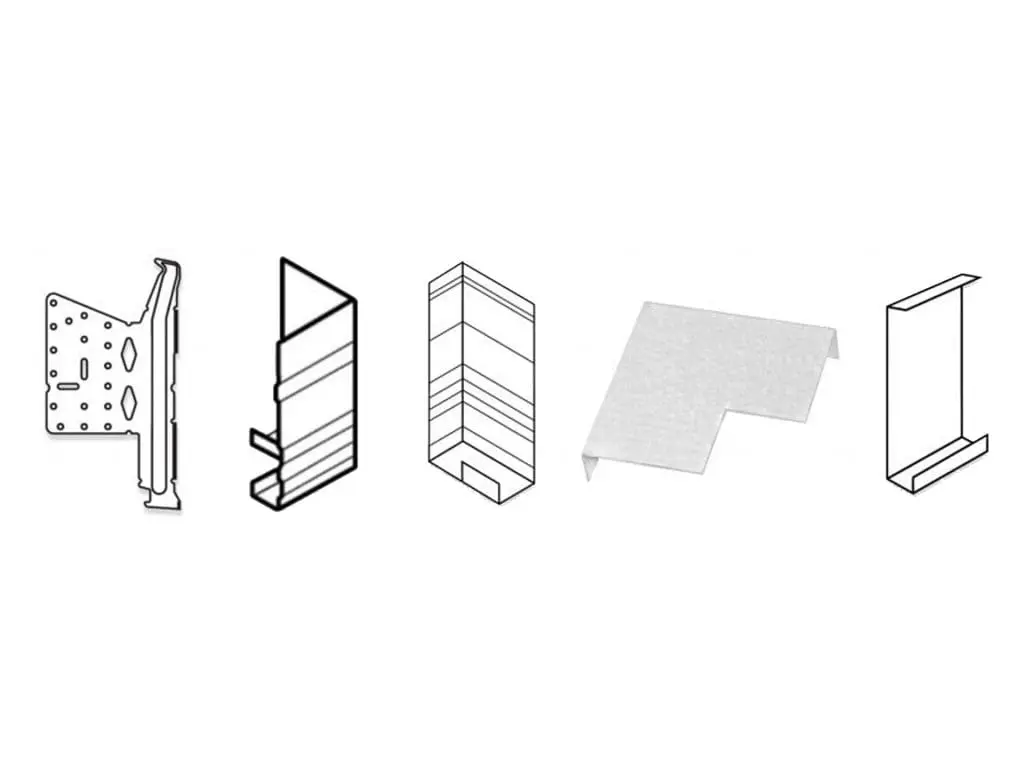
Materials Needed:
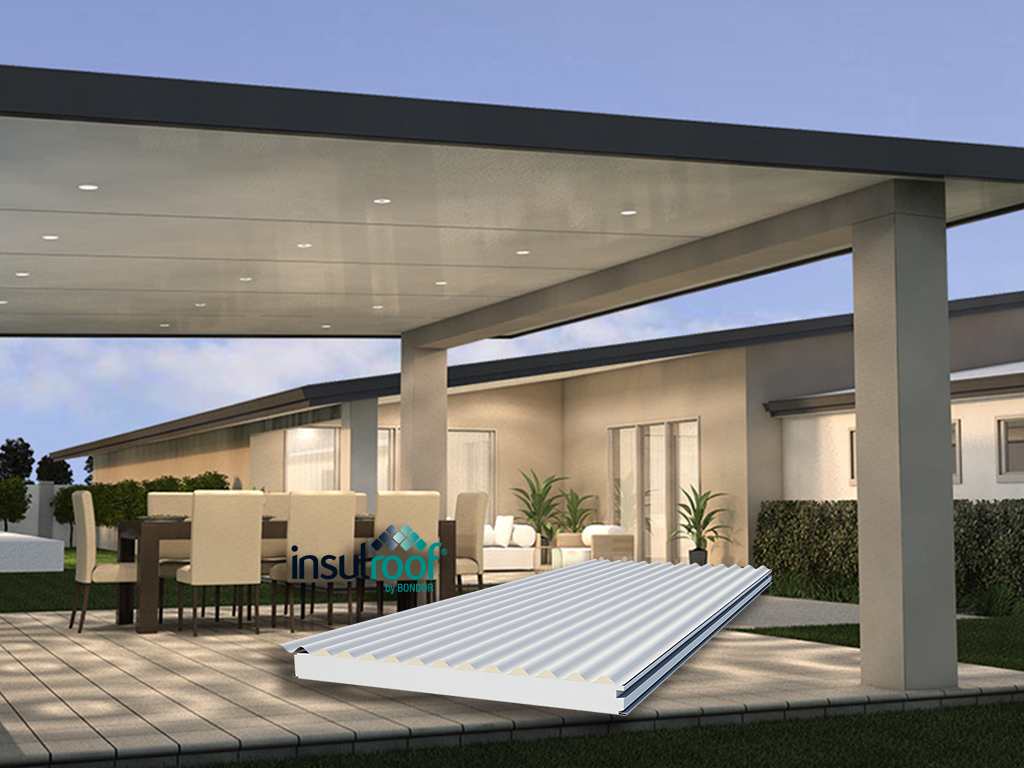
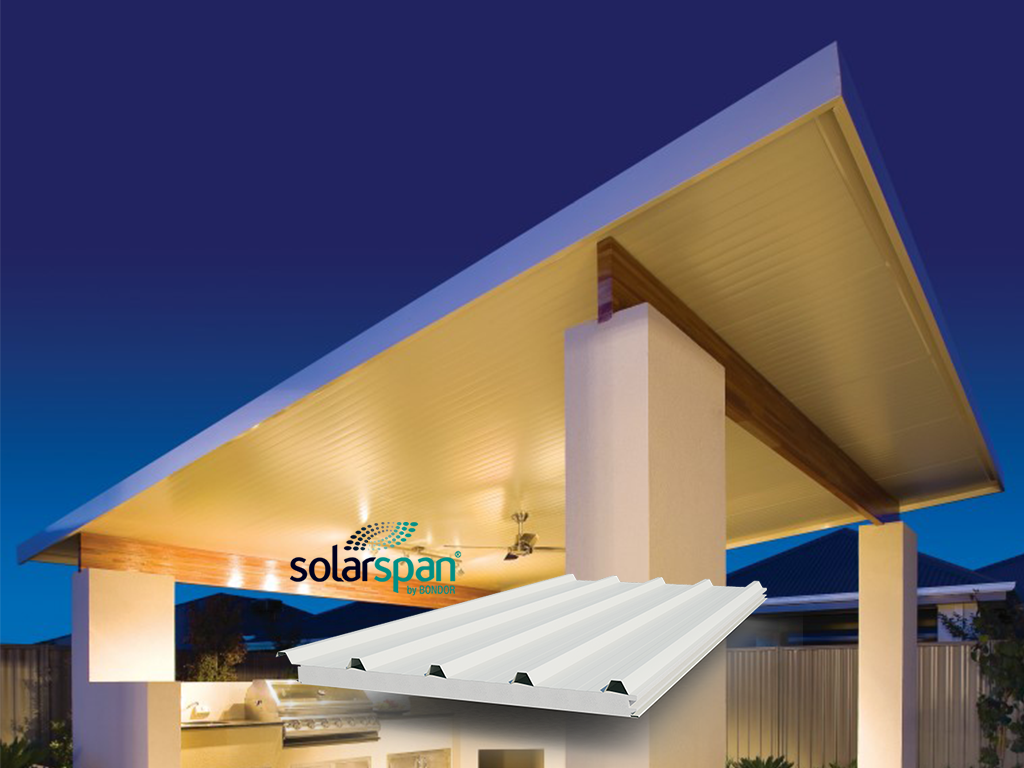
- Insulated roof panels (ensure they are the correct size for your space)
- Support beams and posts
- Concrete mix (for securing posts)
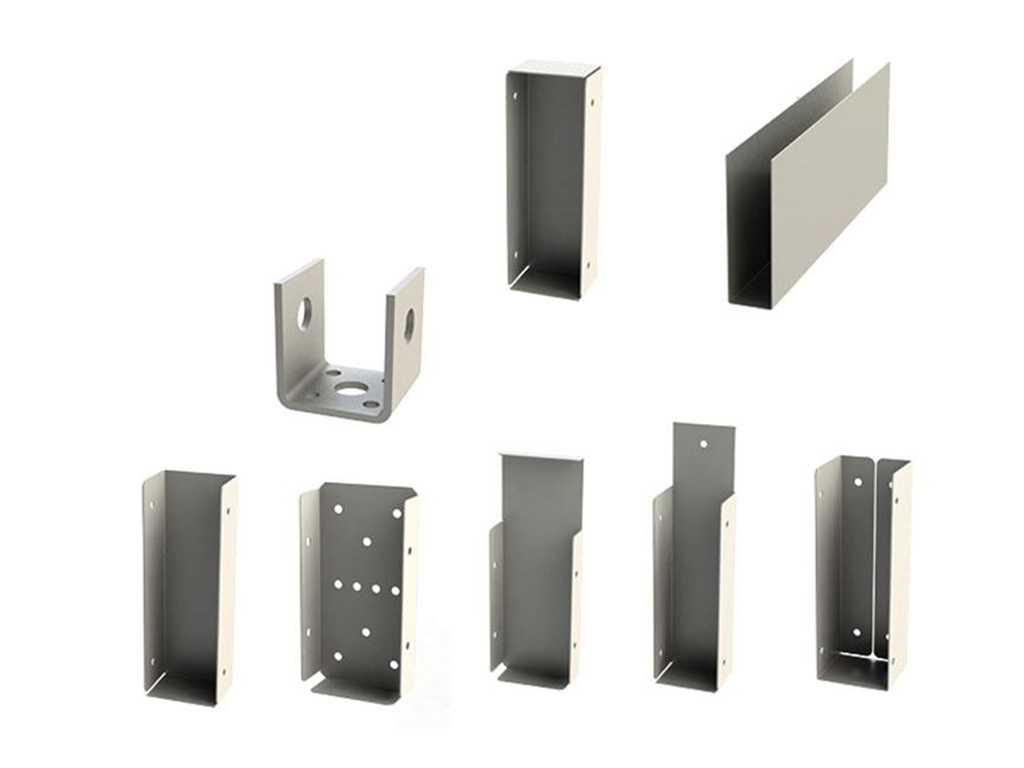
- Screws, bolts, and brackets (for structural support)
- Sealant and caulking gun (for waterproofing joints)
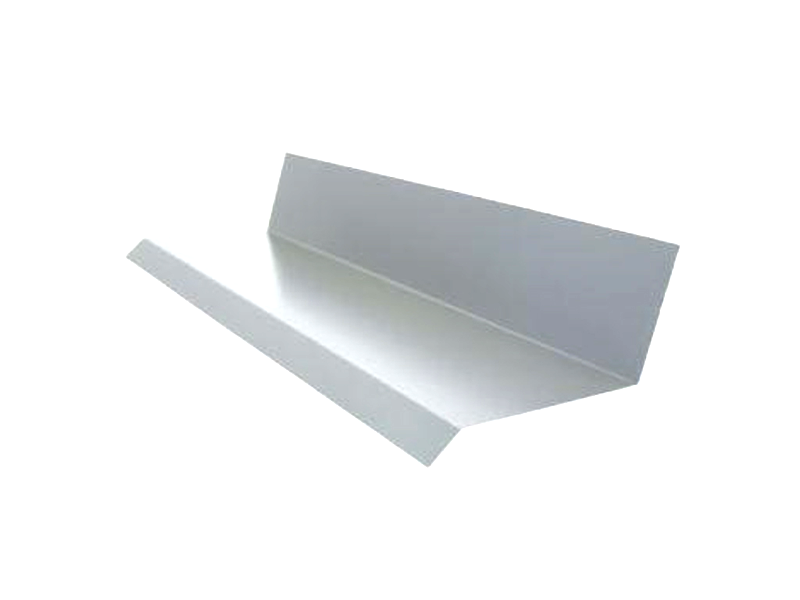
- Flashing (to prevent leaks where the patio meets existing structures)
Essential Tools:
- Measuring tape (for precise spacing)
- Level (to ensure everything is even)
- Drill and screwdriver (for securing panels and beams)
- Saw (if adjustments to panel size are needed)
- Post-hole digger (for setting posts into the ground)
- Safety gear (gloves, goggles, and a dust mask)
Step 2: Prepare the Installation Area
A well-prepared area is key to a successful insulated patio installation. Follow these steps to ensure a stable foundation:
- Clear the site – Remove any debris, plants, or obstacles that may interfere with installation.
- Mark your dimensions – Use stakes and string to outline where your patio will be positioned.
- Level the ground – Uneven surfaces can cause structural issues later on, so use a shovel or compacting tool to create a flat base.
Step 3: Install the Support Posts
The support posts form the foundation of your patio, so they need to be installed securely.
- Measure and mark post locations – Spacing depends on the size of your patio, but a general guideline is every 2 to 3 metres.
- Dig holes for the posts – Use a post-hole digger to create holes at least 600mm deep (or deeper for taller patios).
- Set posts in place – Insert posts and pour in quick-set concrete to secure them. Ensure they are perfectly vertical using a level.
- Allow the concrete to cure – Depending on the mix, this may take 24 to 48 hours before proceeding to the next step.
Step 4: Attach the Support Beams
Once the posts are firmly in place, the support beams need to be installed.
- Position beams horizontally across the posts – These will support the insulated panels.
- Secure with bolts or screws – Use galvanized bolts for durability, ensuring each beam is flush and level.
- Double-check alignment – A small misalignment can cause gaps or uneven panels later.
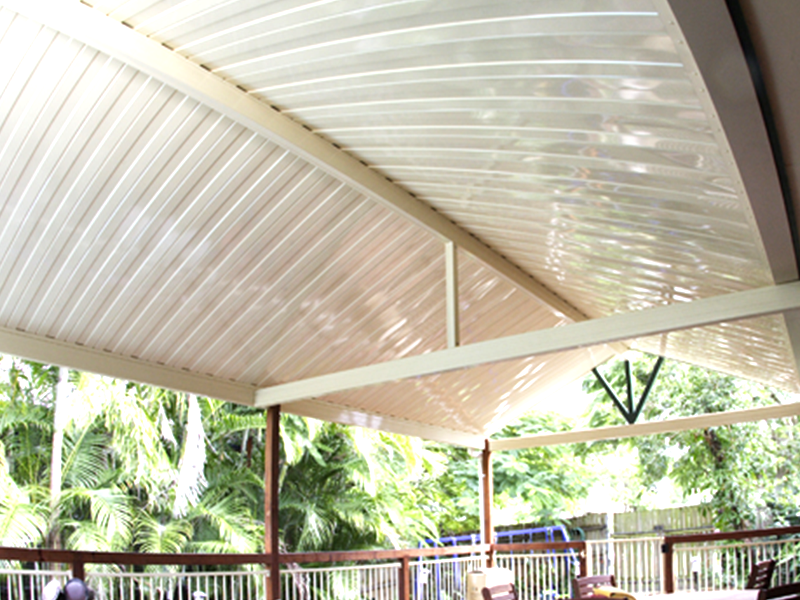
Step 5: Install the Insulated Panels
Now comes the main component: installing the insulated panels.
- Start from one side and work across – This ensures a seamless fit and reduces gaps.
- Align each panel with the support beams – Panels should interlock tightly for stability.
- Secure panels with screws – Fasten panels to the beams using screws designed for insulated panels.
- Apply sealant at joints – Prevent leaks by sealing all seams where panels meet.
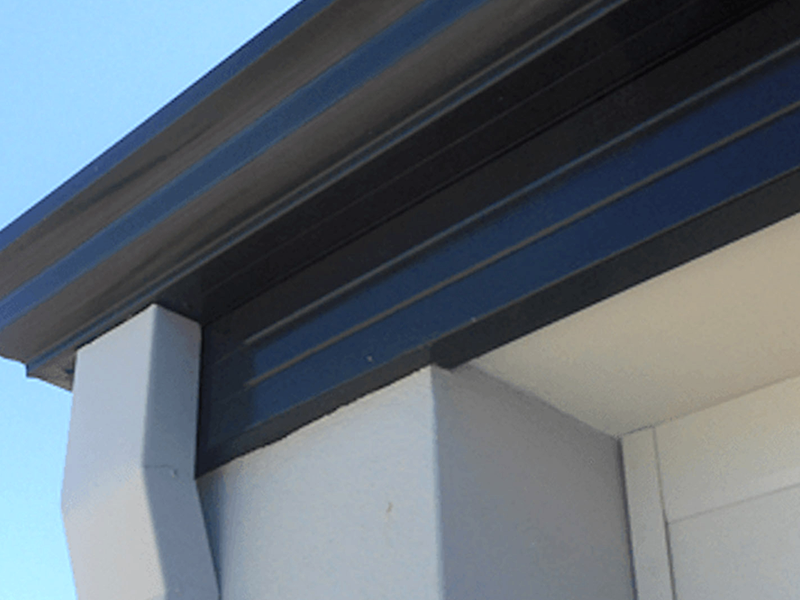
- Install flashing – If attaching to an existing structure, use flashing to prevent water penetration.
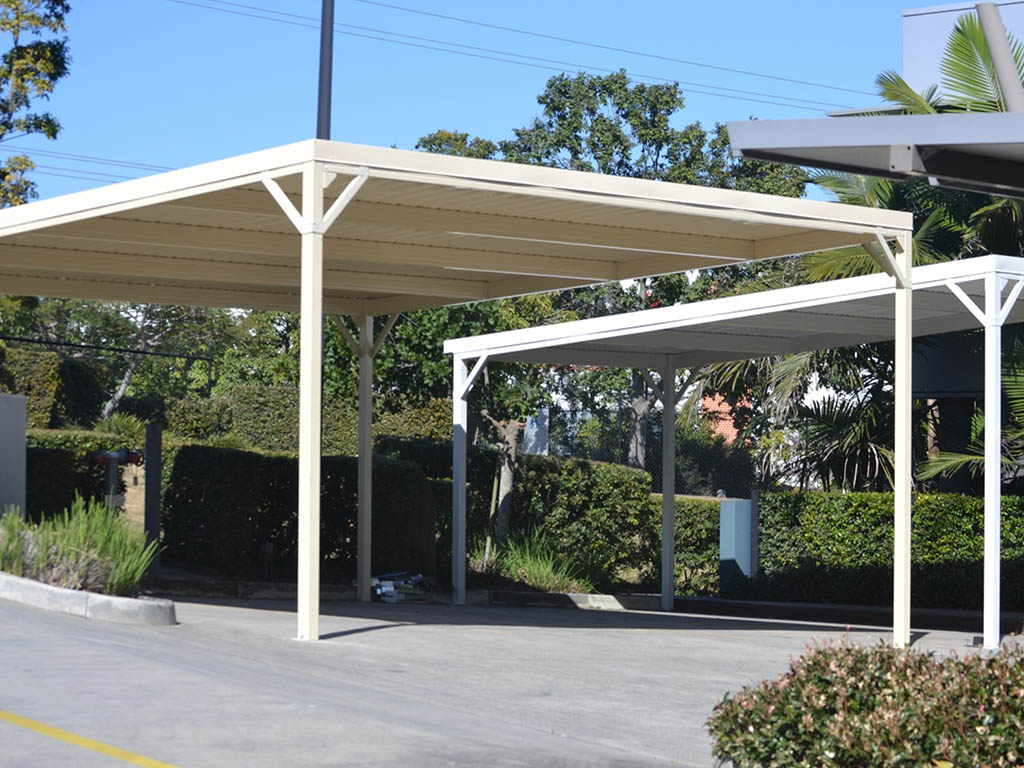
Step 6: Final Checks and Finishing Touches
Before declaring your patio complete, run through these final steps:
- Check for stability – Ensure all panels, beams, and posts are secure and properly aligned.
- Seal all edges and gaps – This will improve waterproofing and insulation performance.
- Clean up the worksite – Remove debris and wipe down panels for a polished look.
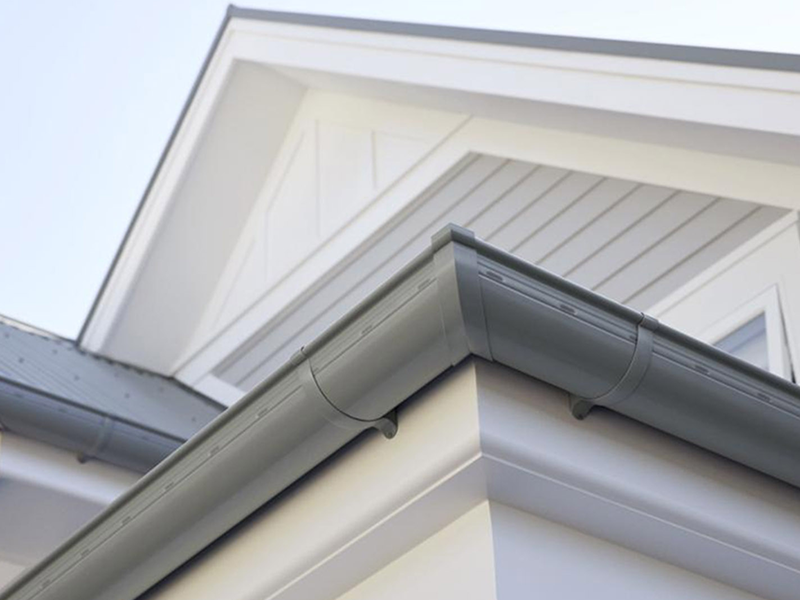
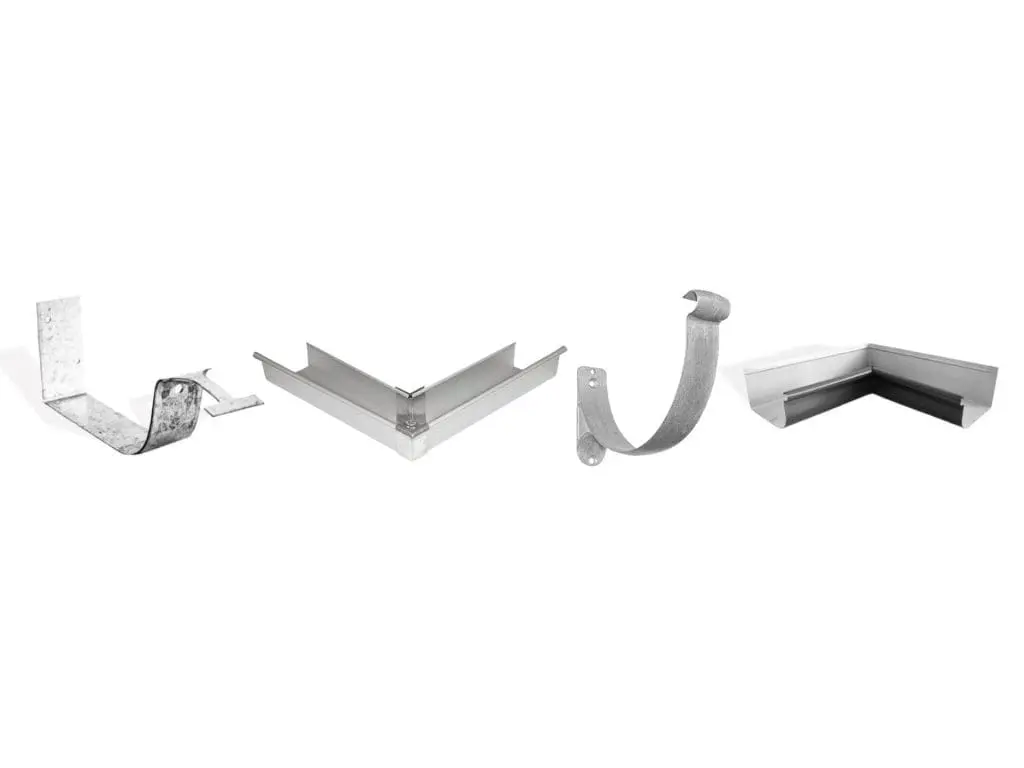
- Add any extras – Consider outdoor lighting, fans, or guttering for added functionality.
Recent Posts
- Colorbond Fencing: The Ultimate Blend of Style and Durability April 11, 2025
- A Spotlight on Monument: The Most Popular Colorbond Colour for Australian Homes March 28, 2025
- Transforming Your Outdoor Space with a Colorbond® Patio March 18, 2025
- How to Paint Colorbond: The Do’s & Dont’s March 7, 2025
- How to Easily Install an Insulated Panel Patio February 20, 2025