Fixing The Gap Under COLORBOND Fences
What can you do to close the gap under COLORBOND fences
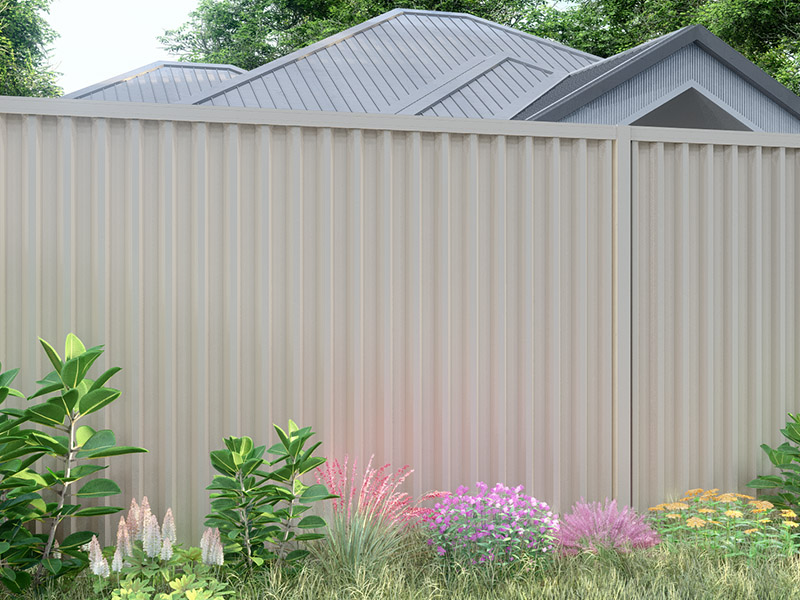
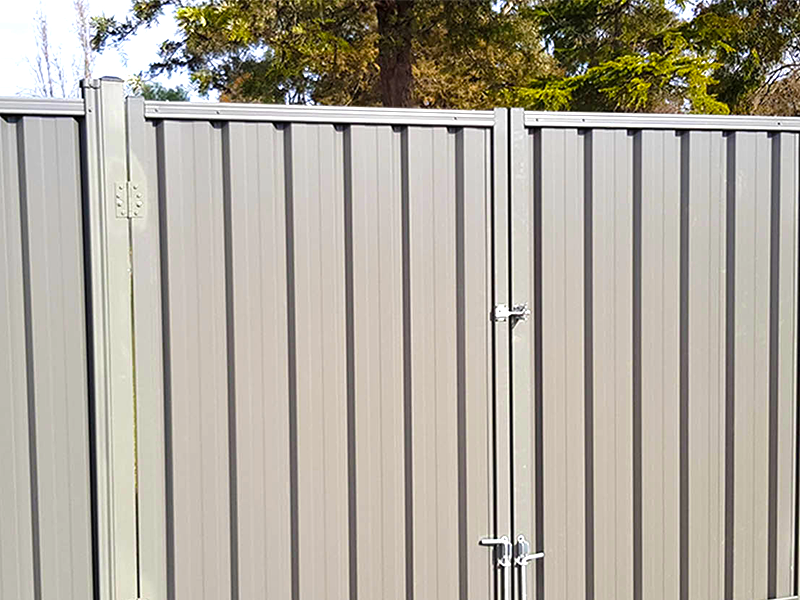
COLORBOND fencing is a popular choice for homeowners, prized for their durability, low maintenance, and sleek appearance. However, one common issue that homeowners often face is the gap underneath these fences. While these gaps serve practical purposes like drainage and debris prevention, they may not align with your specific needs. Fortunately, closing the gap under your COLORBOND fence is a task you can tackle yourself. In this comprehensive guide, we’ll provide you with detailed steps and insights on how to effectively close the gap under COLORBOND fences, turning it into a secure and aesthetically pleasing barrier for your property.
Understanding the Gap
Why is there a gap?
Before we delve into the solutions, it’s crucial to understand the rationale behind the gap under COLORBOND fences. These gaps are intentionally designed for several purposes:
Water Drainage: COLORBOND fences are built to withstand various weather conditions. The gap allows rainwater to flow freely, preventing water from accumulating at the base and potentially causing damage to the fence.
Debris Prevention: The gap acts as a barrier to prevent leaves, twigs, and other debris from accumulating under the fence, keeping your yard cleaner.
While these design features are practical, they may not align with your specific needs, such as enhanced privacy, security, or aesthetics. Therefore, modifications are often necessary.
Tools and Materials
What you’ll need
To get started on closing the gap under your COLORBOND fence, gather the following tools and materials:
Measuring Tape: For accurate measurements of the gap’s height and length.
Saw: To cut materials as needed.
Plywood or Lattice Panels: Your choice for closing the gap. These materials are readily available at most home improvement stores.
Galvanised Screws: To secure the panels in place, ensuring they remain sturdy and rust-free.
Electric Screwdriver: For efficient installation, saving you time and effort.
Safety Gear: Safety should always come first. Wear gloves and safety goggles to protect yourself during the DIY process.
Paint and Brush (Optional): If you want to match the panels to your COLORBOND fence’s colour, these will come in handy.
Step-by-Step Guide
Now that you have your tools and materials ready, let’s proceed with closing the gap under your COLORBOND fence:
Step 1: Measure the Gap
Start by measuring the height and length of the gap under your fence. Accurate measurements are essential for ensuring the panels fit snugly.
Step 2: Cut Panels to Size
Using your saw, cut the plywood or lattice panels to match the measurements you took in step one. It’s crucial to achieve a precise fit to prevent any gaps or misalignments.
Step 3: Attach Panels
Secure the panels to the bottom of the fence using galvanised screws. Ensure they are evenly spaced and level, providing a uniform appearance.
Step 4: Paint (Optional)
If you desire the panels to blend seamlessly with your COLORBOND fence, consider painting them to match the fence’s colour. This step is purely aesthetic but adds a polished look to your fence’s base.
Benefits of Closing the Gap
Why it’s worth it
Closing the gap under your COLORBOND fence offers several compelling benefits:
Enhanced Privacy: By closing the gap, you create a barrier that prevents prying eyes and intruders from easily peeking into your property, enhancing your overall privacy.
Keep Critters Out: Small animals like rodents may try to burrow or nest under your fence. Closing the gap deters them, ensuring your yard remains critter-free.
Improved Aesthetics: The closed gap provides your COLORBOND fence with a clean and finished appearance, boosting the overall curb appeal of your property.
Reduced Debris: Minimising the accumulation of leaves and debris in your yard simplifies maintenance and keeps your outdoor space looking tidy.
Maintenance Tips
Keeping it in top shape
To ensure your closed gap remains effective and aesthetically pleasing, consider these maintenance tips:
Regular Inspections: Periodically check for wear and tear, and make any necessary repairs promptly. Ensuring the panels remain secure is vital for their effectiveness.
Cleaning: Remove any debris that might accumulate around the panels. This prevents potential damage and maintains the fence’s appearance.
Repainting: If you opted for painting the panels, keep an eye on the paint’s condition. Touch up any chips or fading to maintain a uniform look.
Closing the gap under COLORBOND fences is a satisfying and practical DIY project that can significantly improve your property’s privacy, security, and aesthetics. With the right tools, materials, and a bit of effort, you can enjoy the benefits of a neatly enclosed yard. Don’t let that gap go to waste; take action today and transform your COLORBOND fence into a more functional and appealing part of your property.
Unlock the potential of your COLORBOND fence and elevate your property’s privacy, security, and aesthetics with ClickSteel. Discover our premium selection of COLORBOND fence accessories and materials now! Start enhancing your property’s value and appearance today. Contact us for all your fencing needs!
- Colorbond Fencing: The Ultimate Blend of Style and Durability April 11, 2025
- A Spotlight on Monument: The Most Popular Colorbond Colour for Australian Homes March 28, 2025
- Transforming Your Outdoor Space with a Colorbond® Patio March 18, 2025
- How to Paint Colorbond: The Do’s & Dont’s March 7, 2025
- How to Easily Install an Insulated Panel Patio February 20, 2025

